Sighting in Your Bow with a Line and Graph
I am sure everyone has their own way to sight in their bow – I am no different. The steps below are what I have used for a number of years to initially sight in my bow. Sometimes I even get lucky and don’t have to do any fine tuning to the sight. Prior to any of the below steps I paper tune the rest and eye ball the sight for center shot.
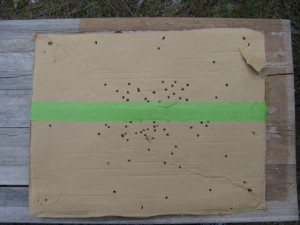
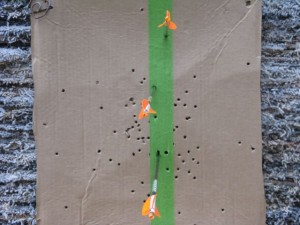
1. Using cardboard and 1 1/2 – 2 inch painters tape I make a Line Target.
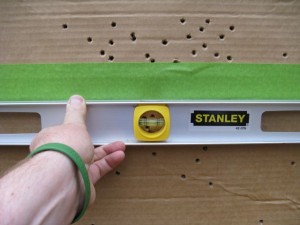
2. Place the “Line Target” on your bale or block style target and level the tape line so it is parallel to the ground. Starting at 10 yards using your 20 yard pin make sure the 20 yard pin is at least close to the tape line. Don’t worry about the “left and right”, I will get to that later. Just make sure the arrow is close to the tape line.
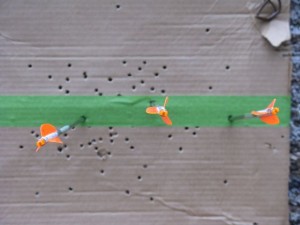
3. Stepping back to 20 yards sight the 20 yard pin in until 3 arrows hit the tape line, preferably in the middle of the tape. (I personally only shoot 3 arrows at a time when sighting in.) Adjust the 20 yard pin until all 3 arrows are hitting the line. (The only reason you are sighting in this 20 yard pin at this time is to insure you don’t miss the entire bale or block at 30 yards.) Once the 20 yard pin is set step back to 30 yards and sight the 30 yard pin in. Once the 30 yard pin is sighted in on the parallel line you are going to step back to 60 yards and repeat the process. (Don’t worry we will get to the 40, 50, and other pins in a bit). Hopefully by now the 20, 30, and 60 yard pins are all hitting the tape line. I will assume they are and move on.
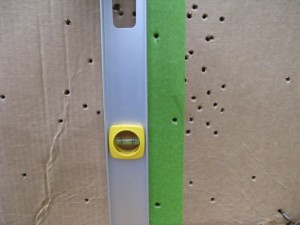
4. Now that the horizontal gaps are set on your 20, 30, and 60 yard pins, rotate the “Line Target” so it is vertical with a level.
5. Once the target line is vertical step back to 30 yards and adjust the “Left and Right” point of impact. Hopefully your sight allows you to move all of the pins at once. This can also be referred to as “Rack Adjusting”. Once you have a solid left and right at 30 yards step back to 60 and repeat the process. If it is hitting the tape at 60 you are done with this step. If it is not, you will need to adjust the center shot on your bow by moving the rest and sight ever so slightly, until they are truly centered. I am not going to get into how I “center shot” my bows as it can be a long, drawn-out process.
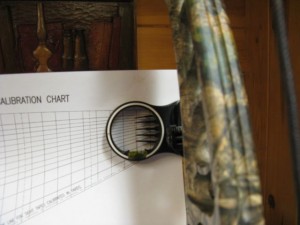
6. By this step your 20, 30, and 60 yard pins should be able to hit the line no matter which way it is turned. Once I am sure I have a solid 30 and 60 yard pin I will use a “sight graph” (see attached document below).
Following the directions on the sight graph I will now adjust my 40 and 50 yard pins. Once you locate the spot on the graph that coincides with your pin gap I recommend using a pencil to mark that spot. By marking the spot it will allow you to locate the area on the graph quickly without sliding the graph back and forth. The graph is very accurate and if laminated will last for years. I personally keep one with my license/tags. It can come in very handy if something happens to your sight while you are hunting.
After my 30, 40, 50, and 60 yard pins are sighted in I will go back and re-sight in my 20 yard pin. I have found using the 30 and 60 yard lines on the graph to be the most accurate. The few times I have used the 20 and 60 yard marks on the graph my 30 and 40 yard marks were off by 3-4 inches. You can also use the graph to sight in other extended range pins. The only down fall to the “Sight Graph” is it really isn’t set up for bows that shoot faster than 290 fps. Sorry!
I hope you are able to find the “Sight Graph” helpful and easy to use ! I know it makes my time on the range much more productive.

