Using Trail Cameras for Elk
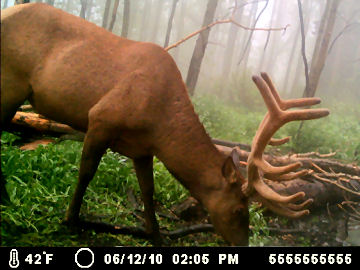
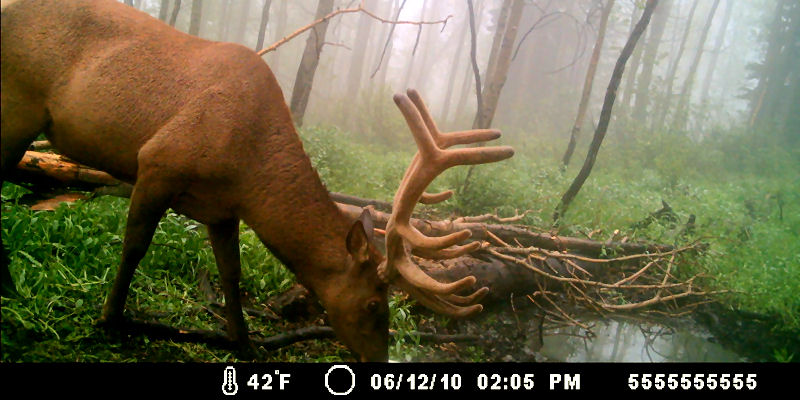
I can hardly wait each spring for the snow to melt in the high country. For me, this officially kicks off the start of a new hunting season. I usually start my pre-hunt scouting by setting up trail cameras at all of my favorite honey holes. Checking these cameras throughout the summer is very addicting. I often catch myself day dreaming at work about how big the bulls have grown, or what other critters might be hitting my cameras.
On several occasions, I have skipped out of work early to do what I call bonsai scouting trips. These are short, overnight trips to hunting spots that are several hours from my house. I typically arrive at camp in the dark, then hike for several hours just to retrieve the SD cards from my trail cams. I do this so I don’t mess up the peak daylight hours of scouting. It is amazing to me that I can hike all day in the woods and see nothing, yet I know the animals are around because of what I capture on my trail cameras. These cameras have truly become an invaluable scouting tool in patterning elk and ultimately helping me become a more successful hunter.
In this article, I am going to give a few suggestions on features you should consider when buying a trail camera. In addition, I’m going to share some tips and tricks about camera placement and keeping your investment safe.
What type of Trail Camera Should I buy?
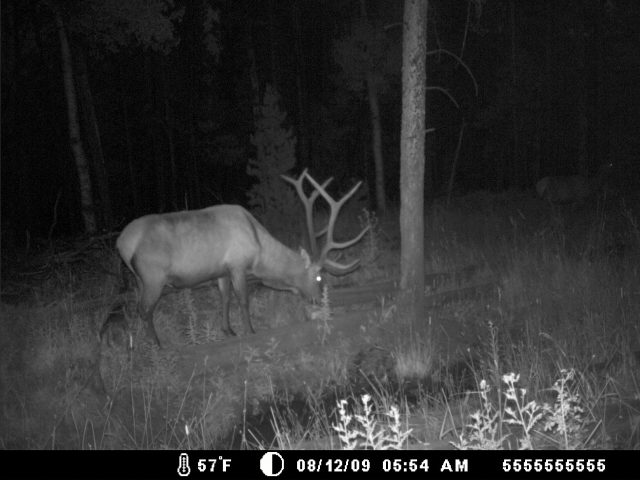 There are so many good trail cameras available on the market, I won’t recommend a specific camera. However, below are some of the things to consider when choosing a trail camera:
- Pack-ability – I usually hike in several miles to hang a camera so I want it to be small and lightweight. Especially if I am packing multiple cameras for various locations in an area I’ll be scouting. There are several cameras on the market that will literally fit in the palm of your hand.
- Battery life – Nothing is more frustrating than checking your camera only to find out that the batteries are dead. I have used cameras with both D and AA batteries. I prefer the AA because they are lighter. I have researched several cameras that advertise 3 to 6 month battery life. I have found this to be true with some cameras, but not all cameras have good battery life – especially cameras with a regular flash.
- Infrared vs. Flash – For me, the clear winner here is Infrared. My cameras have taken thousands of pictures in the dark and the animals don’t seem to care at all. Also, an infrared flash seems to preserve battery life and is not noticeable to humans.
- Quality of photos – I typically stick to middle of the road here. I like a nice quality photo, but I’m not planning to frame these pictures. So, I look for a camera in the 2-6MP range and the work great and provide all the detail I need.
- Ease of Use – For me, the simpler, the better. Don’t get caught up paying extra for a bunch of features. For example, I don’t spend time viewing the pictures on my camera in the field, so a picture viewer is just an added cost. Take the SD card and view it from your digital camera, camcorder, or home computer. Plus, I try to limit the time I spend in and around the area of my camera to minimize human scent.
Trail Camera Placement
Some of my favorite places to hang cameras for elk are at well-used wallows, game trails, or just a cool, shaded dirt area in the pines. I will often carry a trail camera in my pack in case I find one of these honey holes while I am out hiking.
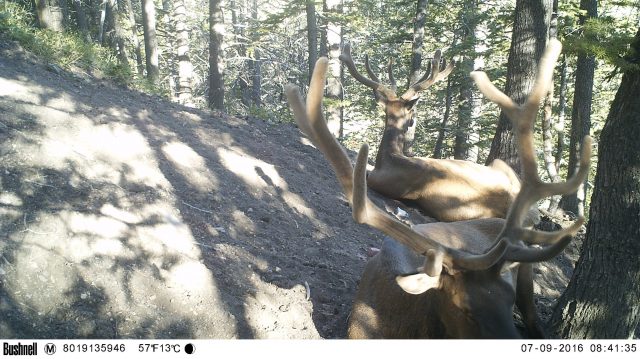 Once I have found one of these areas, I hang the camera so it is pointing North or South of the picture taking area. I have learned that the rising or setting sun will set the camera off and typically give me an overexposed or washed out picture. I also clear as much brush away as I can. Blowing branches and weeds will often trigger the camera, which will eat up all your memory and batteries with no pictures of game.
Lastly, you will need to figure out the effective range of your camera. I have learned from trial and error that I need to place my camera no further than 15 ft. from the wallow to get good pictures in the middle of the night. If you are setting your camera on a well-used game trail, point the camera in the direction of the trail so you catch the picture coming at the camera or going directly away. Trying to capture an animal as the pass by perpendicularly to the trail is less effective.
Protecting your Cameras from Thieves, Bears, and Elk
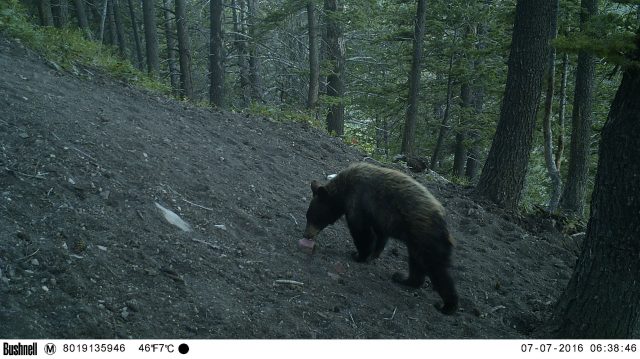 Although I have never had a camera stolen, it happens. Trail cameras have become very popular and any good wallow or water source within a couple miles of a road seems to have a camera on it. I try and find more secluded areas to hang my cameras to avoid others seeing it. However, I have had problems with bears mauling cameras, and even elk kicking one of my cameras that resulted in a broken front panel.
Last year, as I approached one of my camera locations, I noticed my camera laying 10 feet from the tree I had hung it on. After reviewing the pictures, I recognized the head of a big bear as the last picture before it was ripped off the tree. So, I recommend purchasing a good security box to enclose your cameras. Most manufacturers make these security boxes and they are well worth the investment. Since this time, I have taken dozens of pictures of bears sniffing and licking the lens but my cameras have been protected.
Final Thoughts
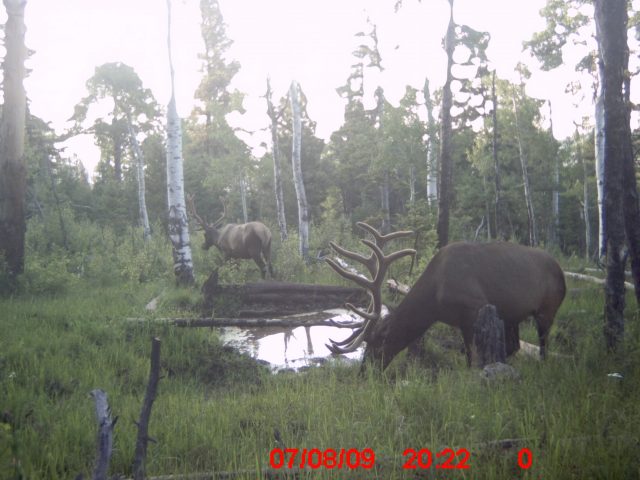 Trail cameras are a great scouting tool for patterning elk and learning their behaviors; even what time of day a bull elk takes his nap. I also enjoy the time-stamp and moon-phase features on my cameras because I am able to capture the timing of elk behaviors that I wouldn’t know otherwise. Some of these behaviors include a bull’s pre-rut activity, when they shed their velvet, and when they gather cows.
Over several years of gathering pictures in one of my favorite hunting area, I have learned the last week of August is the prime time to hunt a particular water hole. After September 1, the bulls leave the area.
Another elk behavior that I have confirmed from my trail cam pictures is that elk are more active at night with a full moon and tend to visit water less often in the day. All of the scouting information I have collected over the past several years has allowed me to hunt in more productive areas and at the most productive times, resulting in more game harvested.
Good luck with your research and have fun scouting with your trail cameras as you prepare for this season!

