Packing Elk Quarters
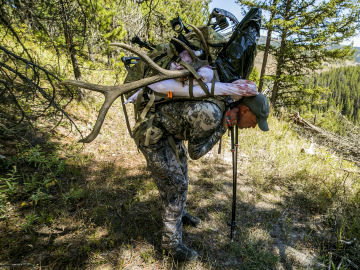
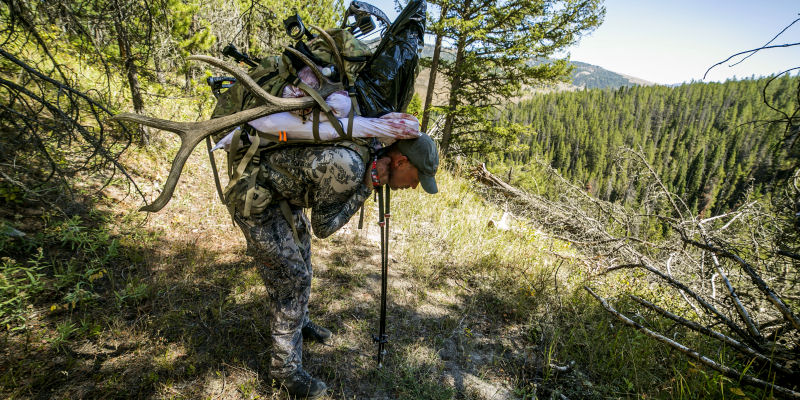
As elk hunters, there are not many things more gratifying then standing over the bull-of-a-lifetime and knowing that all your hard work and preparation has finally paid off. In reality, this is when the work really begins. After a few high-fives and some field photos, you turn to your hunting buddy and ask, “How on earth are we going to get this beast off the mountain?” If you are hunting solo, the task becomes even more daunting.
Breaking down an elk and hauling it off the mountain may be one of the hardest things you and I will experience while elk hunting. There are several methods to get elk quarters back to the truck, and in this article I will discuss the pros and cons of three methods I have used successfully over the years: Bivy Packs, Pack Frames, and Pack Animals.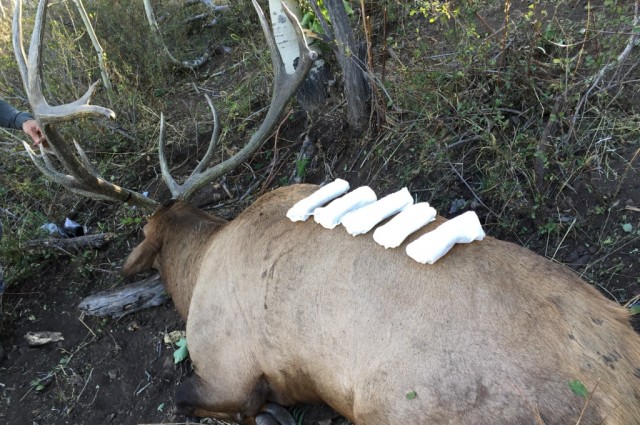
Before you can pack quarters, you need to break the animal down and get the meat off the carcass. My preferred method is the gutless method, and you can view the complete instructional video on how this is done here at Elk101.com: https://www.elk101.com/videos/gutless-video/
Getting the hide off quickly and getting the quarters into clean game bags will start the cooling process and can make all the difference on how your elk meat will taste. I prefer to keep the meat on the bone because it holds its shape better and makes it easier to hang for cooling and securing to a pack. If you want to shave some extra weight, however, you can debone the quarters and probably shed another 10-20% off the overall weight.
Packing with Bivy Packs
These style of packs are ideally designed to allow hunters to carry 3-5 days worth of food and gear into the backcountry and basically sleep and eat while on the move. The idea is that you save time and energy by not having to hike back to a base camp every morning and evening. The disadvantage of this style of hunting is that once you punch your tag, you have both your meat and gear to get out of the woods.
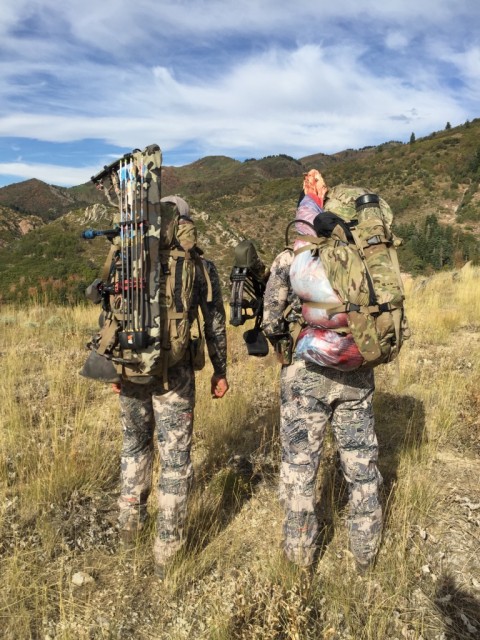 Bivy packs will usually have an internal frame made from some form of alloy or titanium that gives sufficient strength to carry a lot of weight. When loading a bivy pack, it is important to make sure you load the heavy quarters next to the frame. It is also important to have strong compression straps to secure the load to the center of the frame. Also, make sure the pack fits properly and the waist belt has sufficient padding. A well-designed pack will transfer the load off the shoulders on onto the hips. The sizes of these packs are measured in cubic inches and typically range from 3000 cu-in to 6000 cu-in.
Tip: I like to place the elk quarter in a large dry sack or black plastic bag before sliding it into my pack or lashing it to a frame to keep the blood from leaking all over my pack and gear.
Packing with Pack Frames
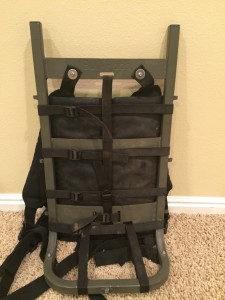 Often called “meat haulers”, these types of packs are primarily used for hauling heavy loads. Once your animal is down, you would typically bring out a light load – maybe a tenderloin or front quarter – with your hunting day pack and then retrieve your pack frame from your vehicle or base camp for the remainder of the loads. The pros of this strategy is that these packs are better equipped to carry heavy loads, including heavy duty shoulder straps and waist belts. Most superior designs include a meat shelf that allows the meat to be easily secured to the frame using compression straps. One of the cons of this solution is that you will more than likely be taking an extra trip or two to retrieve your meat. This may not be a big deal if you are a mile or so from the trail head but becomes significant if you’re adding an extra 5-10 miles to make a round trip to your kill site.
Tip: In additional to buckle style compression straps, I like to use strong bungee cords or rubber straps to secure heavy loads to a pack frame. Nylon parachute cord also works well.
Packing with Pack Animals
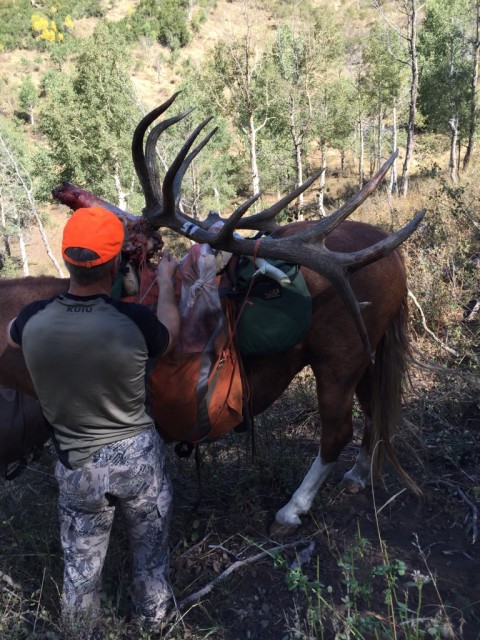 My dad harvested a 9 year-old bull this year on a limited entry rifle hunt that I’m sure weighed close to 1,000 lbs on the hoof. I can’t tell you how grateful I was to have our trusty horses tied off in a grove of aspens nearby. Once we had the bull broken down, we loaded the elk quarters onto the horses and secured the antlers to the top of one of the saddles. My brother and I threw on our hunting packs and led the horses 5 miles back to camp in just over an hour. This is complete nirvana when it comes to packing meat. The pros are obvious to this method of hauling meat. Horses are big, strong animals and make quick work of packing heavy loads. I don’t have experience with other types of pack animals, but know people that have had great success using lamas, alpacas, and the like. A downside of this style of hunting is that horses or other pack animals require extra work. They need food, water, and care that take additional time and energy. Also, anyone that has packed with animals understands that there is a potential risk for a rodeo breaking out at camp or on the mountain. The animal may spook at the smell of a dead elk, an antler may get caught on a tree and poke the animal in the side, etc. I believe the rewards far outweigh the risks, though.
Tip: It is important to balance the load on each side of the packsaddle. Even a 5-10 lb difference will cause the load to sag to one side and cause you to constantly have to readjust the saddle on the horse. We use panniers that drape over the saddle horn of a normal western saddle. We load one side with a back and front quarter and equal the load by putting a back and front quarter in the other side. When securing antlers to a horse, we use a “stout” live 6” diameter stick rather than a dead one to support the main beam. Dead wood has a tendency to snap when going through tight quarters such as timber where a live stick will give a little.
Conclusion
Whatever method you choose to haul the heavy loads of elk meat out of the mountains, it’s important to have a plan in place long before you have an elk lying on the ground at your feet. As they say, this is when the real work starts, and being prepared for the work will make it more manageable.

